Tatreez Tips
As you've grown comfortable with the basic stitches, you might be eager to explore more advanced techniques that will elevate your embroidery to the next level. Professional embroiderers are known for their precision and dedication to their craft. One hallmark of their expertise is the seamless finish on both sides of their work.
In this post, we'll explore techniques including efficient stitching, traveling stitches, and knotless starts and finishes.
Sewing Stitch
This method facilitates faster and more efficient stitching. While beginners initially learn to insert the thread into a point (hole) of the Aida cloth or waste canvas, fully thread through, and then proceed to the next point to complete a cross stitch, professionals use a different technique. They can anticipate the next stitches, knowing precisely which points their needle must enter and in what order.
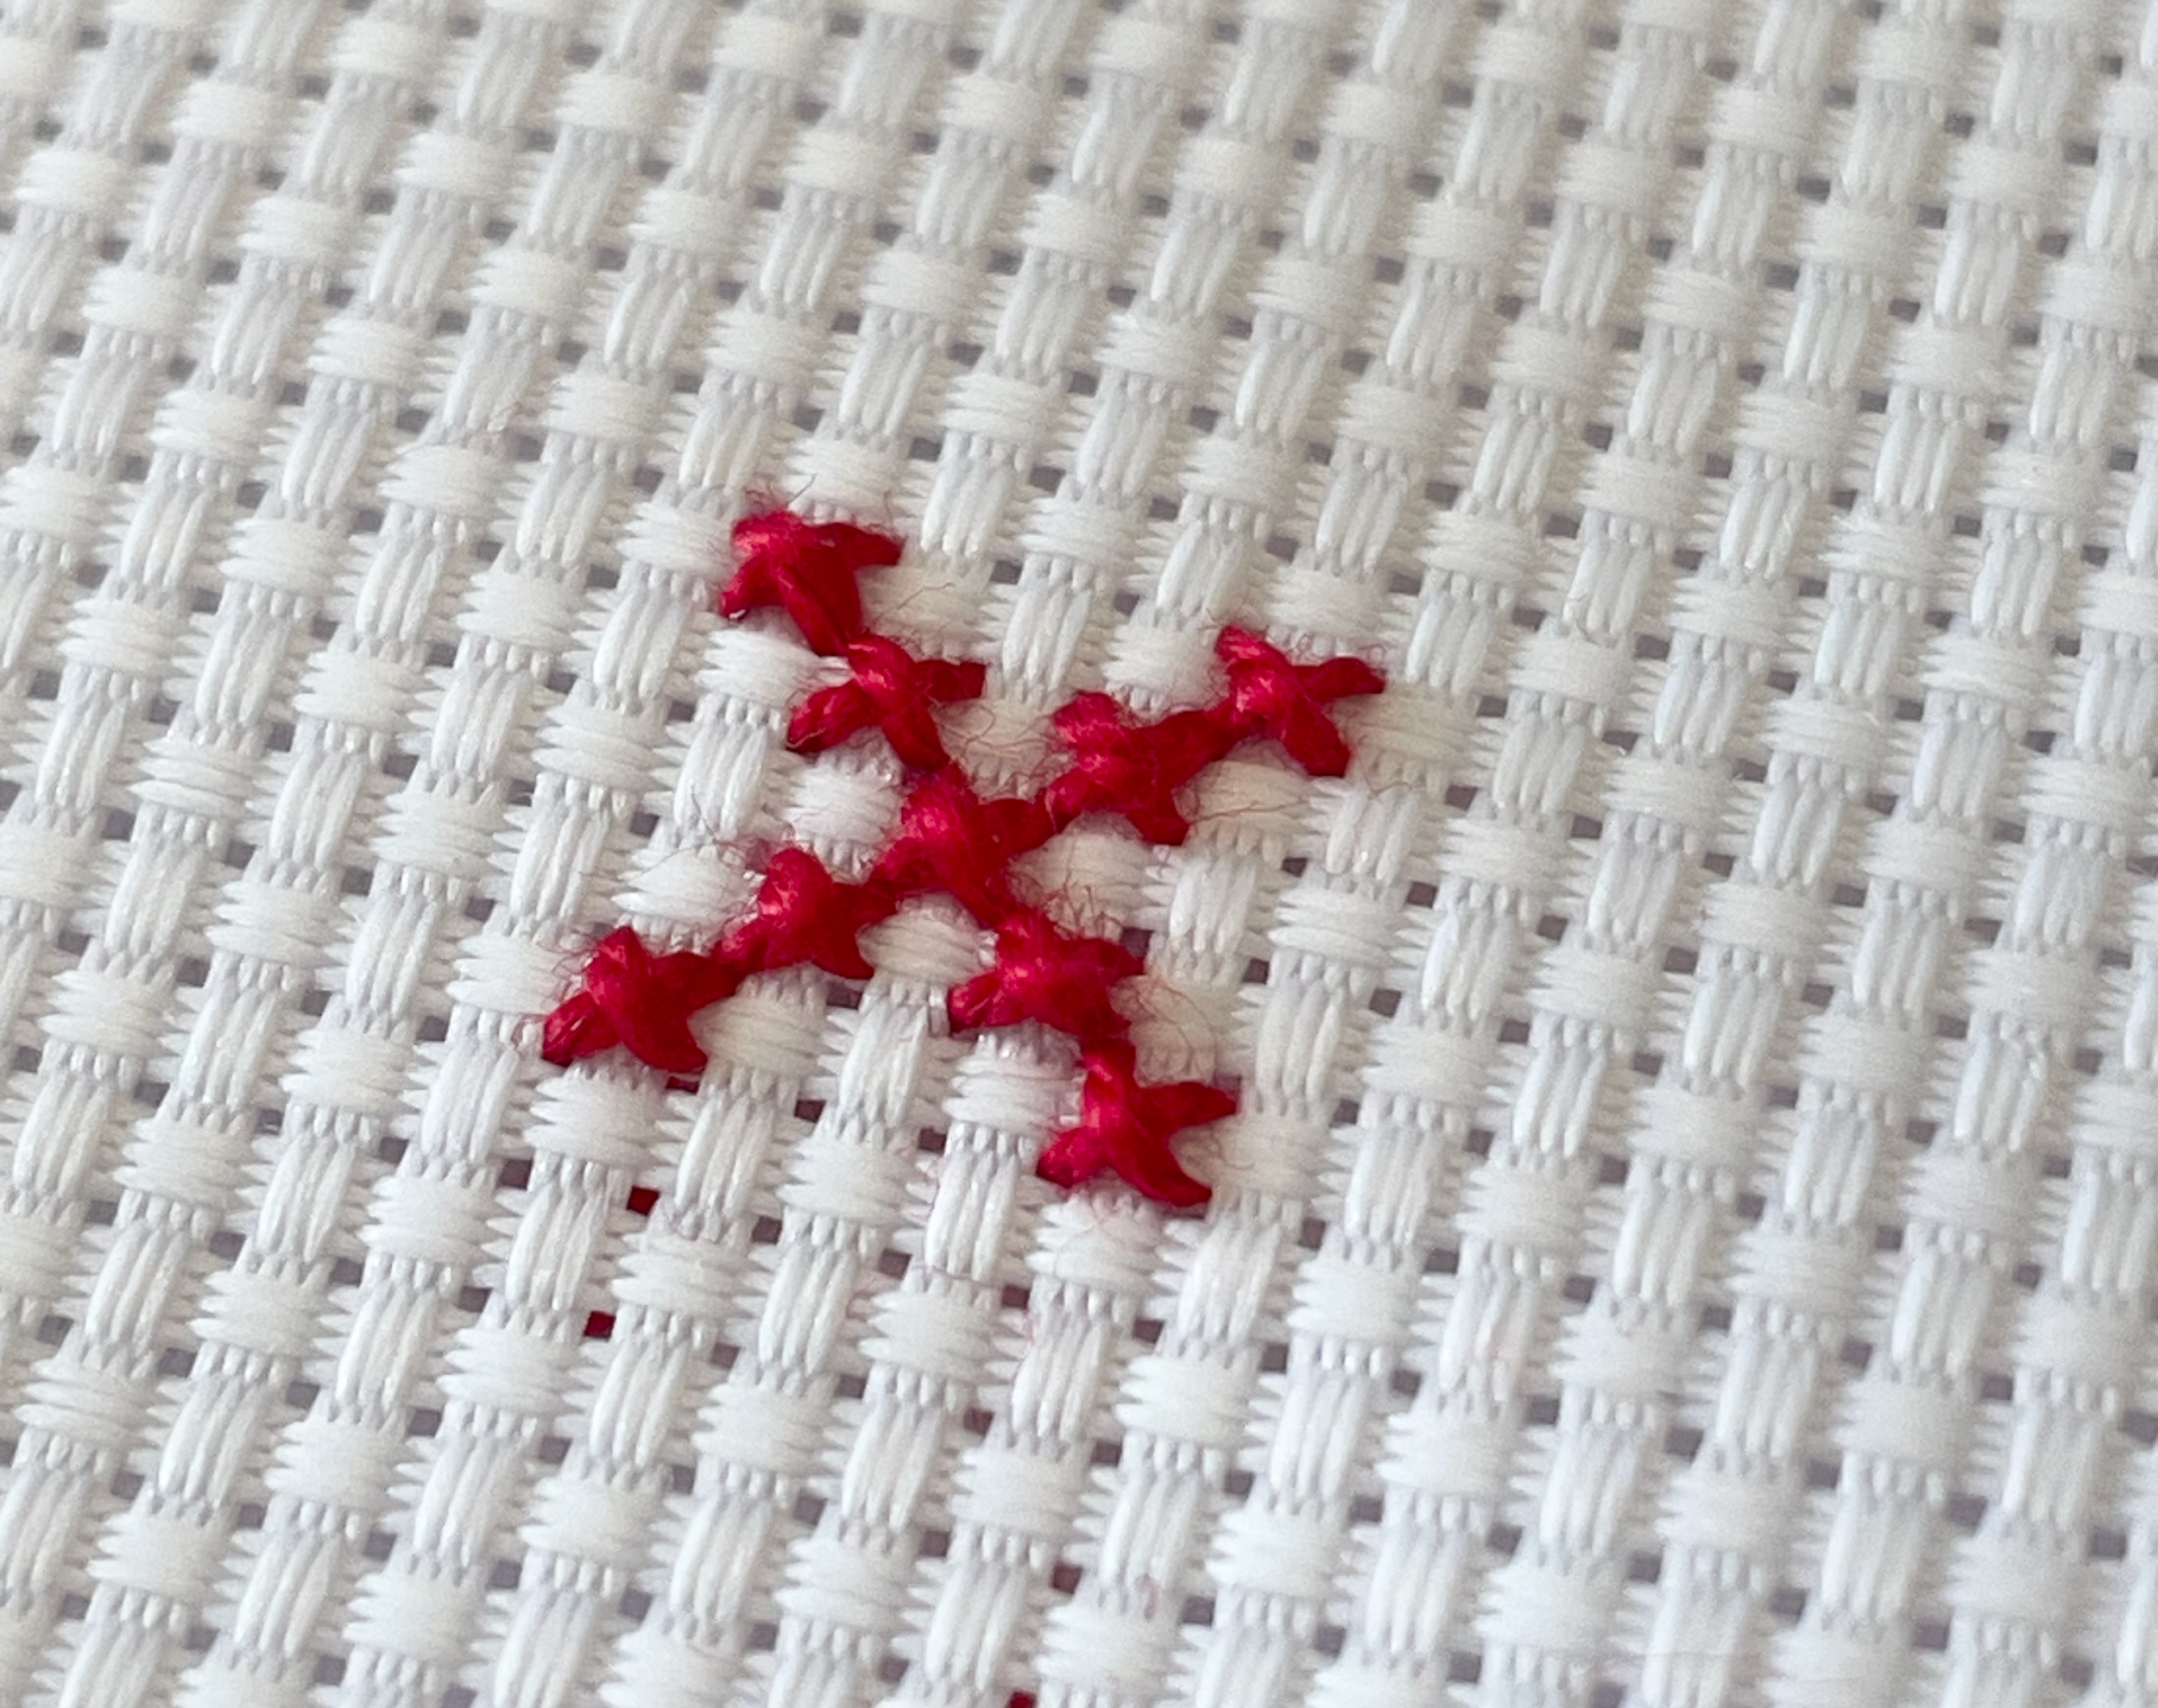
This technique involves threading your needle into two points simultaneously. Employing this technique keeps the needle in the front of your work at all times, eliminating the need to insert it blindly from the back, with both entry and exit points being from the front.
The following video demonstrates this technique, covering single basic stitches and three half-stitches.
Traveling Stitch
Ensuring a tidy backside of your Tatreez project is a key objective, serving both aesthetic and thread conservation purposes. When stitchers need to move from one section to another without cutting and re-threading, they utilize a technique called travel stitching. This involves weaving under a few existing stitches to reach the desired spot. It's a practical alternative to leaving thread long and loose at the back, minimizing the risk of it catching on something and being cut.
How to Create a Traveling Stitch
After completing the previous cross-stitch, locate your needle at the back.
Trace the path to your new desired point, traveling under a few existing stitches.
Once there, resume cross-stitching.
Tuck Start (Knotless Start)
An important Tatreez technique is a secure yet invisible knot using the initial cross stitches of your project to tuck the loose end of your thread. Recall the cross-stitch instructions from our previous post and follow these steps to create a knotless start using a few half stitches.


How to Create a Tuck Start (Knotless Start)
Thread your needle and insert it into your aida cloth or waste canvas from the back. As you insert the needle, ensure that you pull it through the canvas but leave approximately 1-2 cm of thread at the back. Maintain a firm grip on this excess thread at the back, preventing it from pulling through entirely.
Continue holding the thread, and start to make half-stitches. Ensure that the excess thread is overlapped with your next move. This overlapping action ensures that the thread is secured by the cross stitch itself, allowing you to let go.
Once you have reached your desired half stitches, complete them by stitching backward. Ensure that you overlap the excess thread once again.
Tuck Finish (Knotless Finish)
In our previous post, we explored the traditional method of securing our cross stitch with a knot once our work was complete. However, advanced techniques offer an alternative – a knotless finish.
How to Create a Tuck Finish (Knotless Finish)
Your needle is positioned at the back when you finish your stitch.
Insert the needle through the back of multiple cross stitches.
Cut thread from the needle, close to other stitches.
Start Applying Your New Skills!
By mastering both beginner and advanced techniques, you now are set to elevate your Tatreez projects. Tailor your approach to match the specific needs and aesthetic goals of each unique project. Let your creativity flow and explore the full spectrum of Tatreez embroidery techniques!


