Tatreez Bookmark Guide
Tatreez is a beautiful way to stitch our heritage into our everyday lives, whether on traditional items like thobes or cushions or more modern creations like bookmarks and keychains. In this guide, we'll walk you through the step-by-step process of crafting a simple yet stunning Tatreez bookmark on Aida cloth.
Bookmark Steps
Step 1: Design
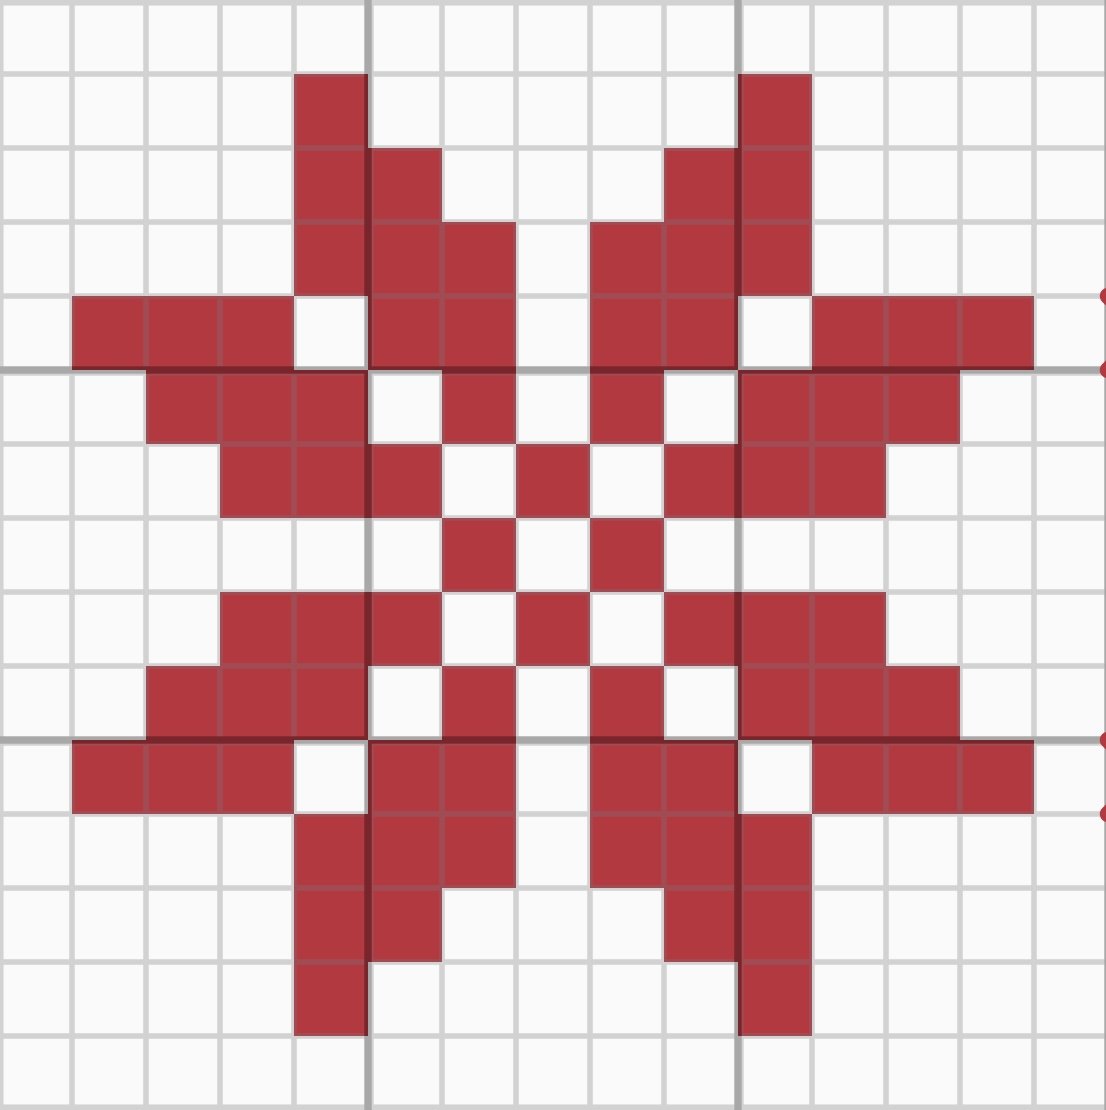
The pattern featured in this guide can be downloaded for FREE from our Motif Library.
Every successful project begins with thoughtful design, which includes determining your desired measurements and final pattern. There are various ways to create a Tatreez pattern, and for more detailed guidance, visit our “Creating a Design” guide.
Dimensions:
For this project, we're creating a standard final bookmark size of approximately 2 inches by 7 inches when stitched on 14-count Aida cloth.
To simplify your process, start by deciding on the final dimensions you’d like for your bookmark, then add about an inch to each side. This step is crucial before cutting your fabric in Step 2.
Pattern:
You can find Tatreez motifs in our Motif Library, from the wonderful resource by Tirazain, or any other sources listed in our Recommended Resources.
Next, choose your Color Palette. Will you take a traditional route using DMC colors from various Palestinian cities, or opt for colors that best complement your vision?
Finally, use a grid designer to assemble your pattern. Our “Create a Design” guide provides various free grid designers. Once your pattern is complete, save, download, or print it so you can easily refer to it as you stitch.
Step 2: Cut the Fabric
After finalizing your measurements, cut the Aida cloth, ensuring you leave extra space on each side.
Cut TWO aida cloth pieces for your bookmark's front and back.
For our example, where the final size will be
about 2 x 7 inches, cut the fabric to 3 x 9 inches.
Step 3: Stitch your Design
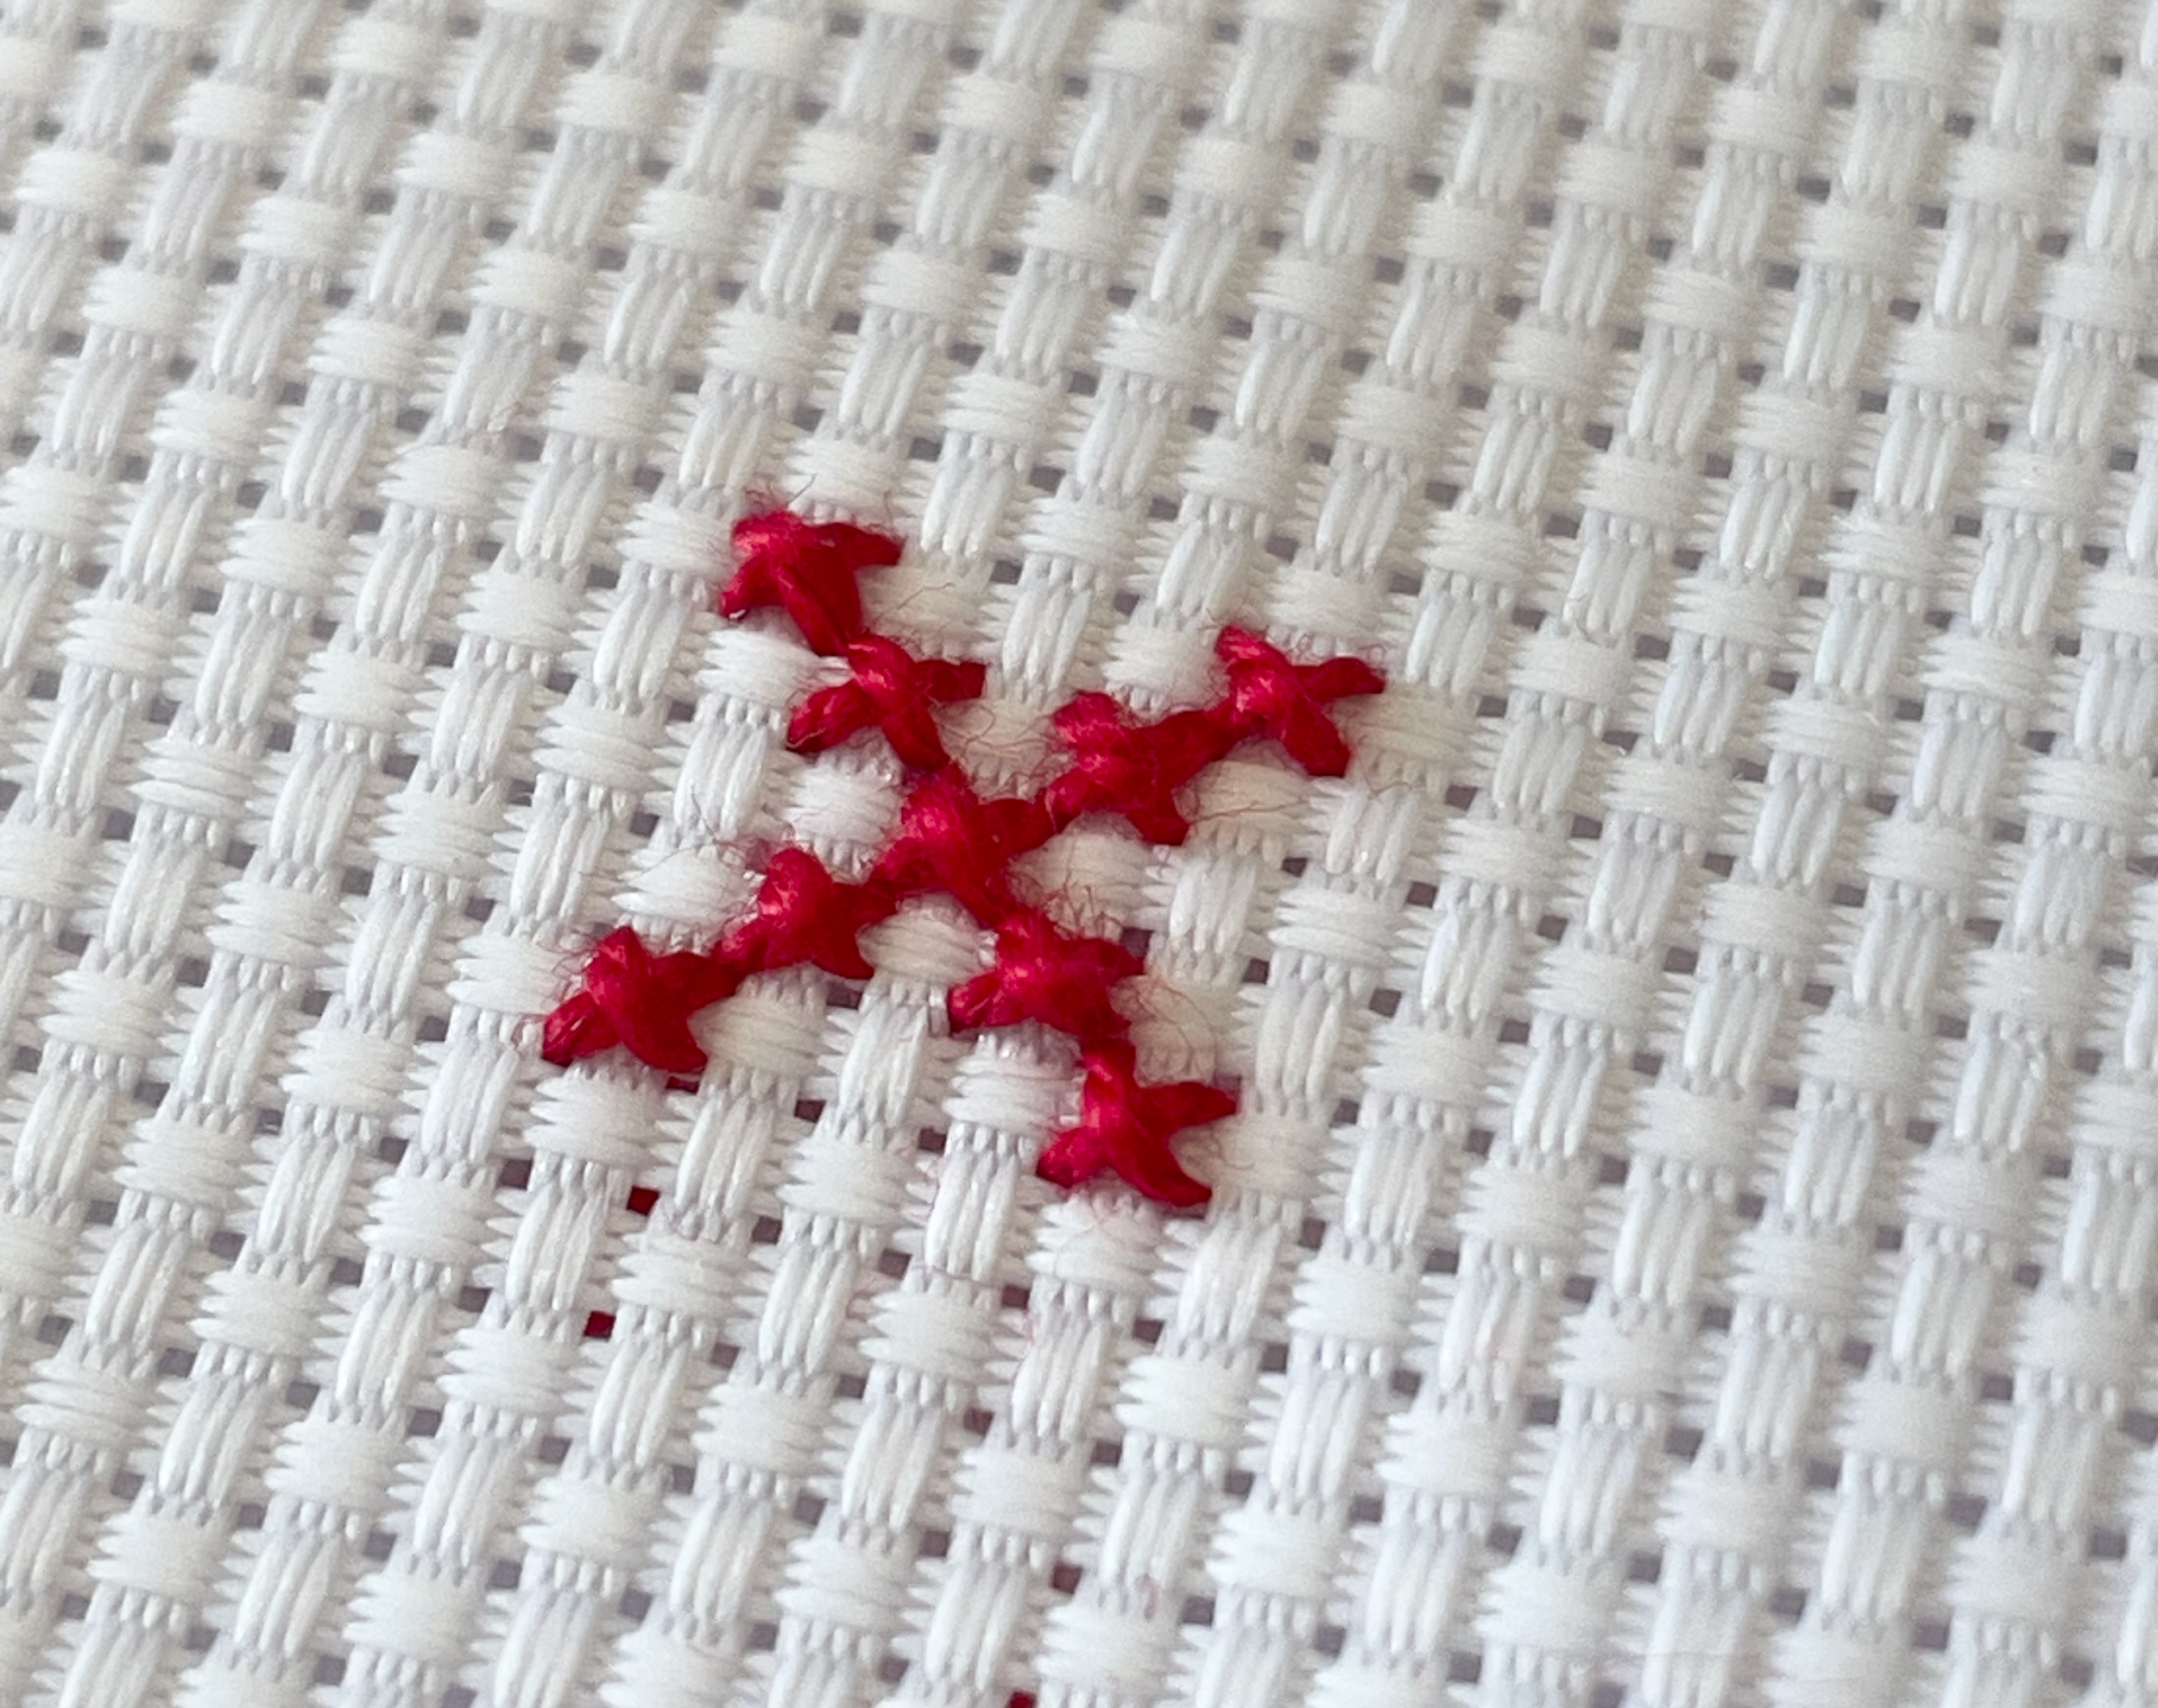
Now, it’s time to bring your design to life! To ensure your design is perfectly centered on your Aida cloth, start by finding the center of your fabric.
Fold your Aida cloth in half both ways and locate the point where the folds intersect. We recommend starting your stitching from this center point to maintain symmetry.
Depending on your preference, you can choose to stitch on one side of the bookmark or both pieces. In our example, we have stitched both sides of the bookmark.
Step 4: Creating a Tassel
To add a decorative touch to your bookmark, consider adding a tassel—it’s the perfect finishing touch.
It's important to create the tassel before completing your bookmark because it needs to be stitched into the bookmark in the next step.
There are many ways to create tassels, but here’s a simple method using pearl cotton thread. The same can be achieved with embroidery floss.
Video Demonstration
How to Create a Tassel
Use pearl cotton (size 8) or embroidery floss (size 25). Wrap the thread around your open fingers about 14 times (or 7 times for each color if using two colors to create a braid). Cut thread loops near the starting point.
This will create 14 equal thread pieces. Set threads aside.
Use an item that is 2 inches thick, such as a thread bobbin or piece of cardboard. Wrap the thread around the bobbin or cardboard about 25 times. If you want a longer tassel, use a wider item. After 25 wraps, cut the end of the thread.
Take your 14 equal pieces of thread created in step 1 and thread them through the loops you created on the bobbin. Tie a secure knot. Carefully slide the loops off the bobbin.
Tape the loop side of the tassel to the table and create a braid using your 14 pieces of thread (now 28 since it has been folded in half). Knot the end. Remove tape.
Cut a 15-inch thread. Create a small knot on the top of your looped threads. Wrap the remaining thread around the loops then create a small knot at the end again. Double knot for extra security.
Finally, cut the loops at the bottom of the tassel to create the fringe. Then trim any excess thread to make fringes equal.
Set tassel aside until you are ready to attach it to your bookmark.
Step 5: Assembling Bookmark
There are several ways to assemble your bookmark, but the main goal is to secure the edges to ensure the two sides stay together. You can achieve this using either a backstitch or a blanket stitch. Below, we’ll walk you through both methods.
Option 1: Backstitch Technique
This technique creates a smooth finish for your bookmark.
It involves two steps:
Creating the backstitch around the border of each piece of your design
Connecting the two sides together.
The backstitch should be done close to your last stitch along the border. and on both pieces of Aida cloth for your bookmark.
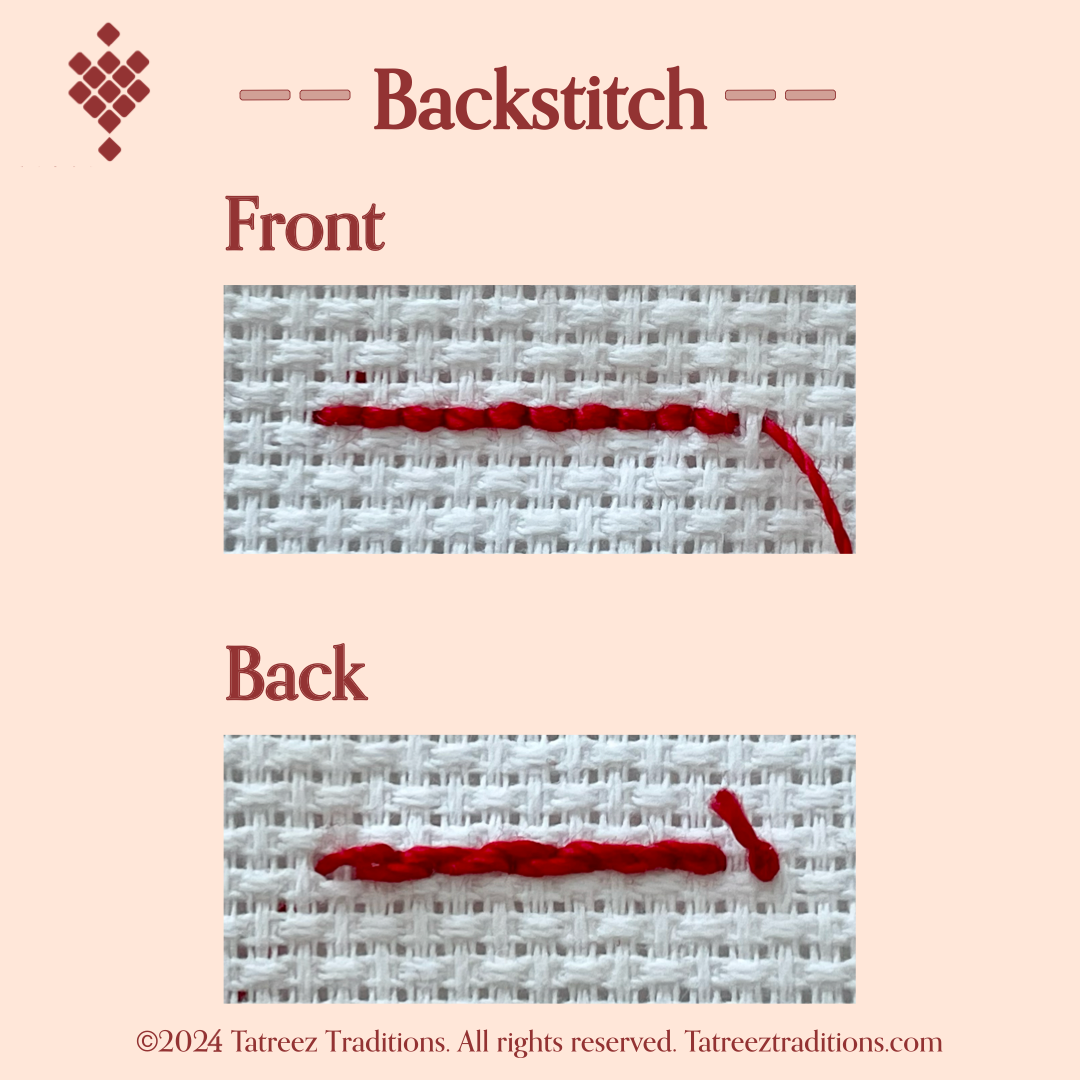
Create Backstitches
You can use any color thread for the backstitch; we’ll use white to create a seamless finish that blends with the Aida cloth.


Video Demonstration
How to Create a Backstitch (Bookmark)
Thread your needle using the single-thread technique, with a small knot at the end.
Take one side of your booking mark. Starting from the back of your fabric, bring the needle up at your starting point.
Make your first stitch moving forward a distance of one stitch.
Skip a distance (equal to your first stitch), then bring the needle up again.
Insert the needle backward to your last exit point.
Repeat Steps 4 and 5 until the entire border is complete.
To finish your backstitches, thread your needle to the back at your last point and knot.
Bookmark Example


Joining Backstitches With a Whip Stitch
After you have completed your backstitches on both pieces of your bookmark, it is time to join them together! This is done by using a whip stitch to join the backstitches together. Follow the instructions below.
Video Demonstration
Attaching Tassel
How to Join Backstitches (Whip Stitch) (Bookmark)
Once you’ve created a backstitch border on both pieces of your bookmark, fold the excess edges. Bring the two pieces together so that the backstitches are touching each other.
Thread your needle using the single-thread technique with a small knot at the end.
Taking one side of your bookmark insert your needle between the fold (to hide the knot) and exit through your starting point.
Begin by threading your needle under one backstitch on one side, then through the corresponding backstitch on the other side, creating a whip stitch.
Continue whip stitching until you reach the location where you want to add the TASSEL.
Insert the tassel between the two pieces of the bookmark and whip stitch around it, as you did with the backstitches. It is important to thread through the tassel as you connect the two backstitches. When you reach the center of your bookmark while whip stitching, move your thread over to the other side of the tassel and continue whip stitching. This ensures both sides of the tassel are secure.
Continue whip stitching until the border is complete.
To complete your border, end the last whip stitch with a sewing knot then bury thread between bookmark sides and cut.
Bookmark Example


Option 2: Blanket Stitch Technique
Another option to secure your bookmark edges is by using a blanket stitch. This method is quicker than the backstitch approach but does not provide as clean a finish.
Again, you may use any thread color to compliment your bookmark design.
Video Demonstration


How to Create a Blanket Stitch (Bookmark)
Start by folding the edges of your bookmark.
Thread your needle using the single-thread technique with a small knot at the end.
Taking one side of your bookmark insert your needle between the fold (to hide the knot) and exit through your starting point.
Align your two sides of the bookmark together and insert your needle into your next point adjacent to your starting point - this time threading through both sides of your bookmark. Before pulling the thread all the way through, insert your needle through the loop created by the thread.
Continue stitching from one side to the other, looping through each time.
Repeat this process until you reach the location where you want to add the TASSEL.
Insert the tassel between the two sides of the bookmark and blanket stitch around it, as you did with the rest of the border. When you reach the center of your bookmark while stitching, move your thread over to the other side of the tassel and continue stitching. This ensures both sides of the tassel are secure.
Continue stitching until the border is complete.
To complete your border, end the last blanket stitch with a sewing knot then bury the thread between bookmark sides and cut.
Congratulations!
You’ve completed your Tatreez bookmark!
It’s time to dive into all your favorite Palestinian books!
@tatreeztraditions
Share Your Bookmark With Us On Instagram!


